
This is how I picked out what image I wanted to change.


This shows how the highlight tool can change the image brightness around the main focus (the person).

This showing the basic cropping of the image, I didn't want to show too much skin in this image so I decided to crop it out.
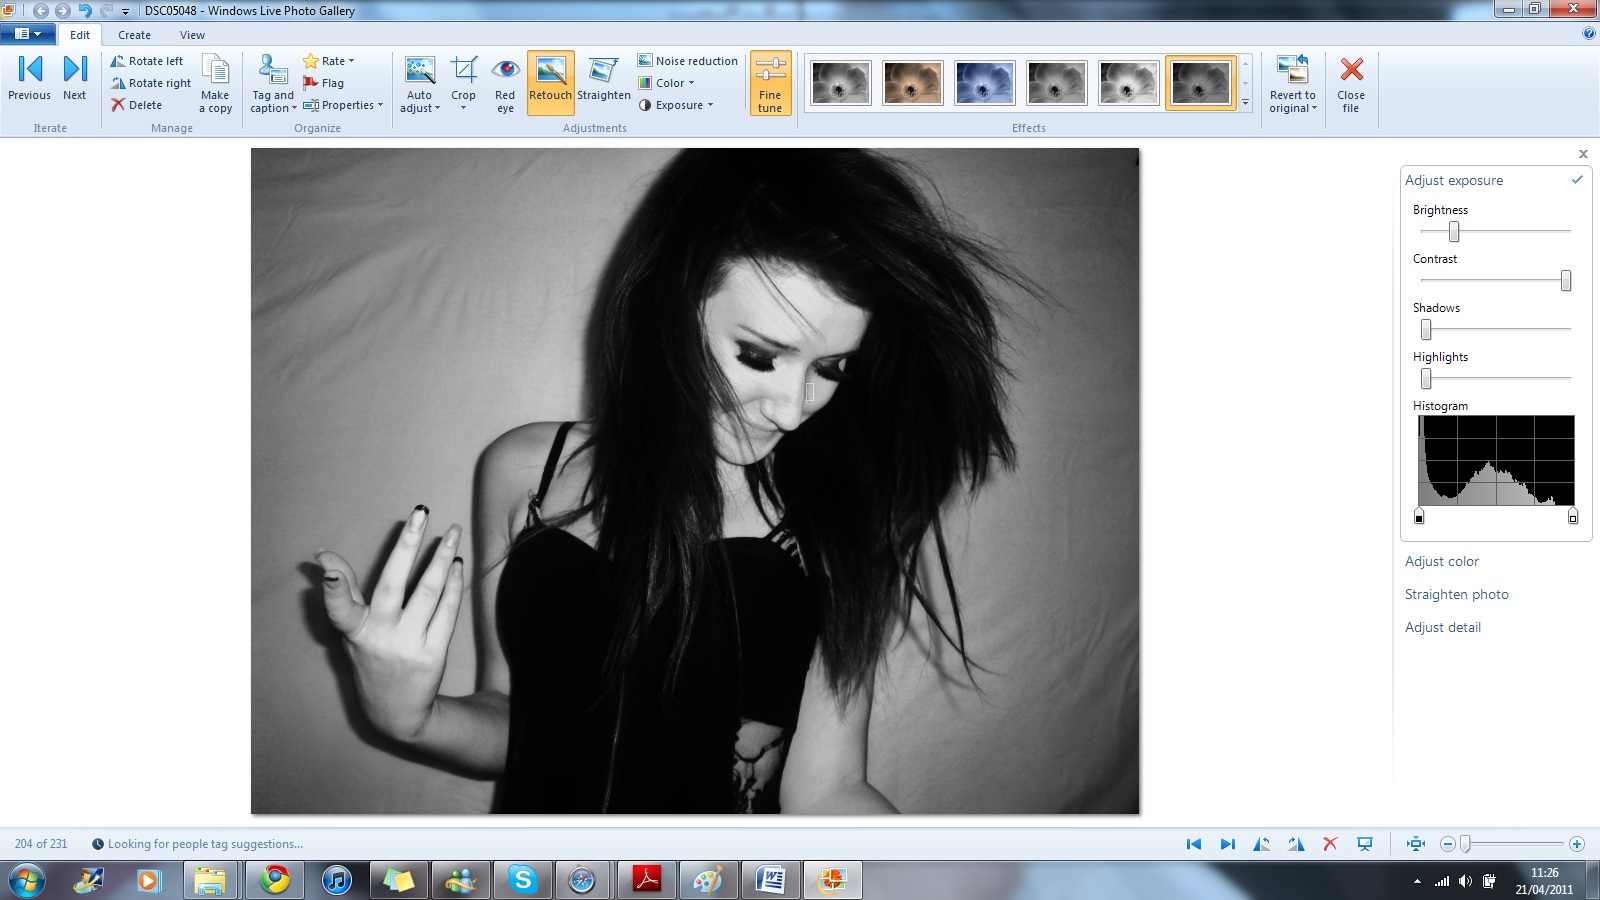
 These images are showing me using the tools of cropping and the tools of colour of change and use of brightness, shadows, highlights and contrast.

This screen shot shows me changing this image but using the tools that I could.
These next two images show cropping and changing the image to make it lighter before i make it black and white.


Here I have changed the darkness of the the photo. This is so it looks like there is a glow around me and so my skin looks more even and healthier.

I change the brightness on this so that my lips would look extremely red. Also so my skin looked more even I used the the blur tool and I used the saturation tool to make my skin look more tanned.

Once again I have changed this image to the colour look to make my model look more indie and to make her hair look darker I did this by changing the brightness i also used the blur tool around her lips.


These two images are the same image but show how I have change the image from the original image to a new image. I changed the image by cropping change the brightness, contrast, shawdows and highlights.
I wanted this image to stand out so I used the blur tool around the nose and eyes and made sure the eye shadow looked dark enough and that my hair looked dark and thick enough.


These three images show how the colour tool can change how the image looks.

This last image you can see im cropping so that my eyes are in the middle, so they are the main focus.
No comments:
Post a Comment